 Peakub Support
Migration
Bring your publication over from another platform
Peakub has a free, built-in migration tool. Paste the address of your existing publication and we detect the platform automatically. For most platforms, public content is discovered right away with nothing more than that address; some platforms need credentials from the start instead, each guide below says exactly which.
Why migrate to Peakub
If you want a similar experience to what you're used to, but with the features only Peakub offers, these guides are for you.
Social the way it suits your publication
We built Peakub to be social by default, yet without the needless incentives to move the discourse outside your publications. Everything on Peakub is made so that your publications have the most engaged audience, and the audience finds the best publications. That's why the feed resurfaces, in priority, creators' content and posts that link back to their publication.
A clear stance on publications we will never host
Peakub allows every writer, content creator, and journalist to have a direct connection with their audience. We cherish the open web and won't censor opinions on the left or the right of the current culture war. But we will not host publications that promote supremacy, segregation, racism, or antisemitism.
What you need to do for all platforms you are importing from
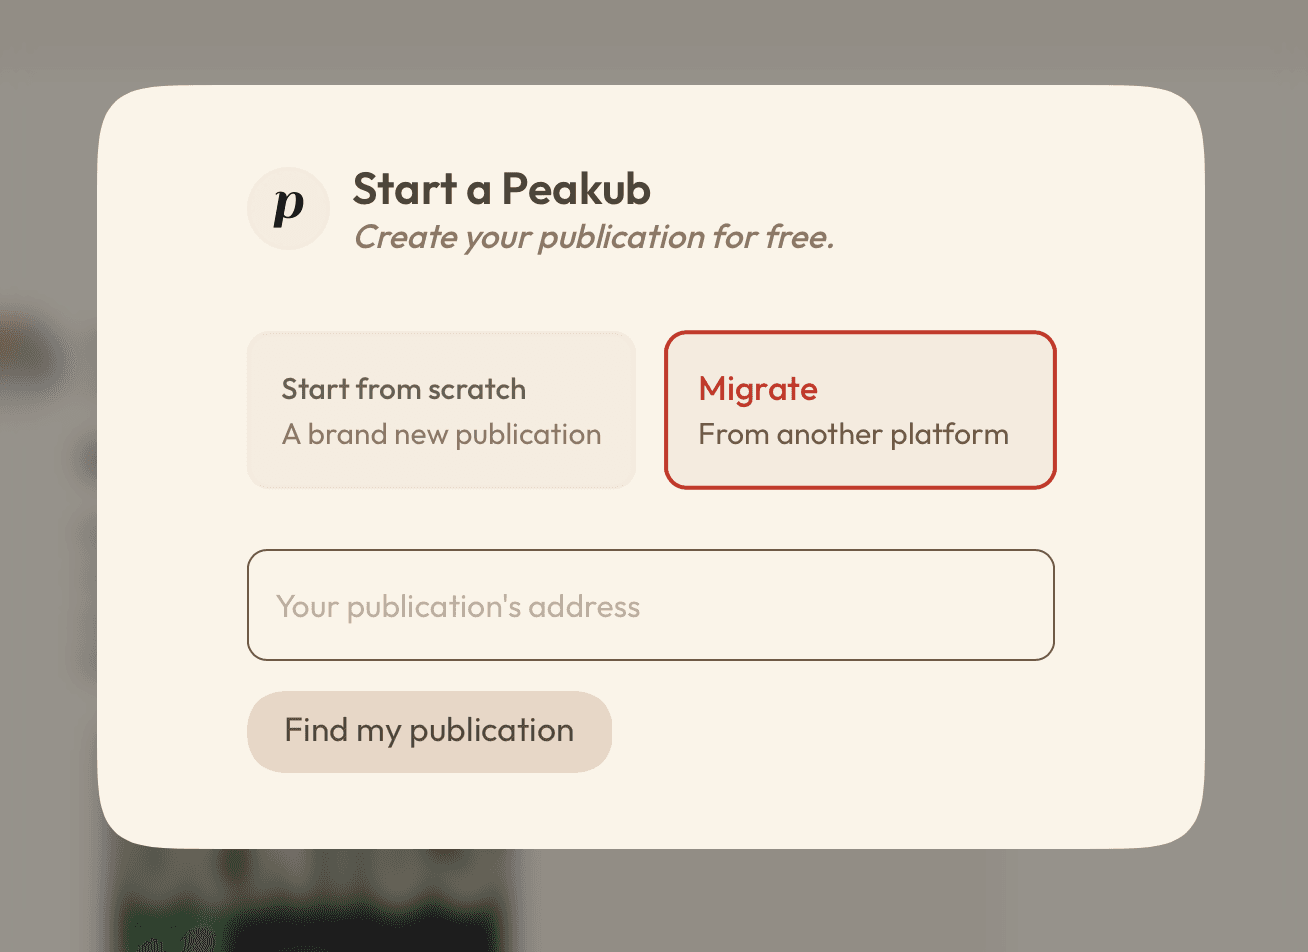
- Start a new publication and choose Migrate, paste your existing publication's URL directly (we detect the platform for you).
- Depending on the platform, we either start discovering your free, public content immediately, or ask for credentials first before we can read anything at all.
- Paywalled content and your subscriber list, where supported, need either an export file or credentials, each guide below says exactly which.
- Once everything's in, review it from your publication's Studio before you publish anything.
Guides by platform
| Platform | Needs | Brings across |
|---|---|---|
| Substack | An export file (for paywalled content, subscribers, and to prove you own the publication) | Posts, subscribers |
| WordPress | Nothing - just the URL | Public posts only |
| Blogger | Nothing - just the URL | Public posts only |
| beehiiv | An API key and Publication ID | Posts, subscribers |
| Steady | An API key | Posts, subscribers |
| Mailchimp | An API key and Audience ID | Subscribers only |
| RSS/Atom feed | Nothing - just the URL | Recent posts only |
Coming from somewhere else, or want to bring in what your platform's guide doesn't cover (posts it can't reach, or subscribers it doesn't support)? See Manual setup - every publication, migrated or not, can also have subscribers and posts added by hand.
Tracking and managing an import
Once an import starts, a status card shows up on your publication's Studio dashboard and stays there until you dismiss it. It shows:
- Overall status - Starting, Importing, Imported, or Some items failed.
- Per-item counts for each resource (Posts, Subscribers), e.g.
8/10. Hovering a count can reveal why it's not a plain match:- partial - a paywalled post whose free preview came across, but whose full content is waiting on your export file.
- suppressed - a subscriber your source platform marked inactive/unsubscribed; imported so they stay suppressed, not added to your audience.
- skipped - content we don't import yet (podcast episodes, for now).
- failed - genuinely didn't make it across.
- Retry, next to any resource with failed items. Failed items are retried automatically a few times on their own; the button lets you trigger another attempt right away instead of waiting - useful right after fixing whatever caused the failure (e.g. uploading the export file a paywalled post needed).
- Upload your export file, for platforms that need one, shown until ownership is verified.
- Finish migration, once ownership is verified - dismisses the card. Nothing else about the import is undone; it's just done showing up here.
After you import
However you migrate, the last step is usually the same:
Transfer your custom domain
If you have a custom domain linked to your old publication:
- Remove the old link with your DNS provider.
- Go to
Studio > Website > Domain settingsin Peakub. - Choose custom domain and link it to Peakub - it goes live within a few minutes.
Stuck partway through an import? See Troubleshooting.
Last updated on